06
Worked example: a café opening
From a brand brief to a poster, a cut-out and a launch post, step by step
This example makes opening-day material for a café called Morning Ember. By the end you will have four things:
| What | Where it’s made |
|---|---|
| A brand brief | Document |
| A key visual poster | Canvas, with the Agent laying out the node |
| A cut-out of the poster | A Canvas node tool |
| An opening-day post | Agent |
First, as in Getting started, create a Canvas Project named “Morning Ember”.
1. Write the brand brief
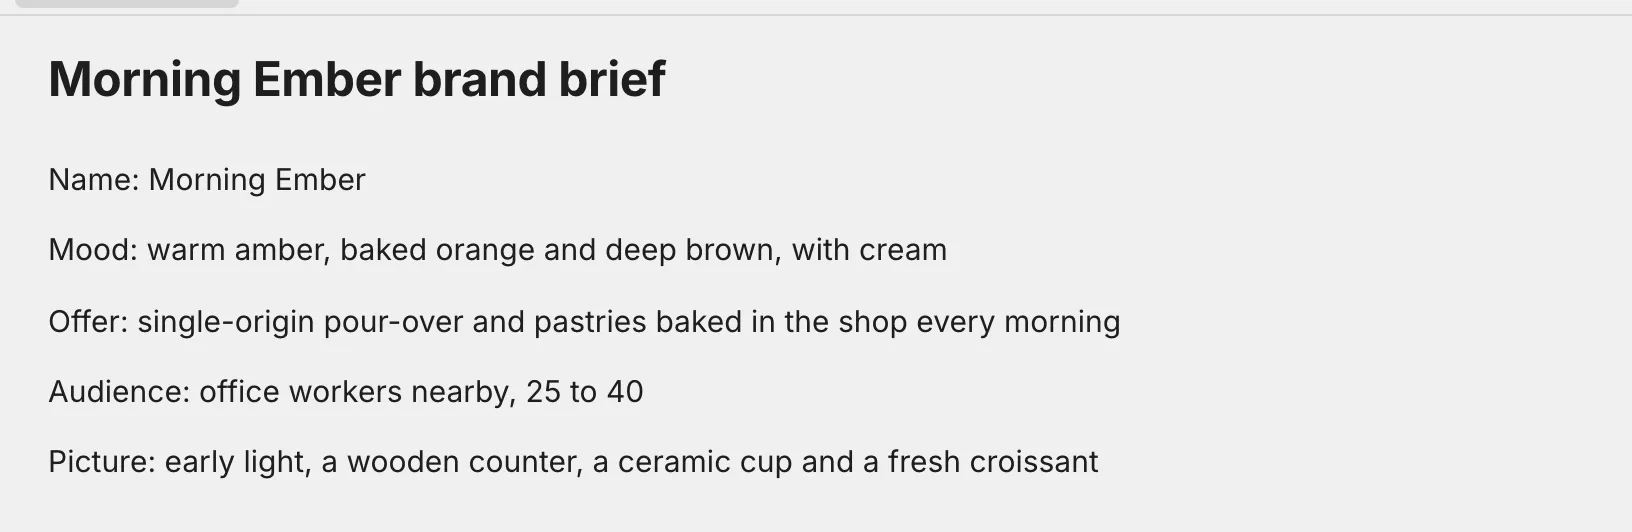
Add a Document Space called “Brand brief”. Start the first line with # to make it a heading, then write one line each for the name, mood, offer, audience and picture.
2. Hand the brief to the Agent
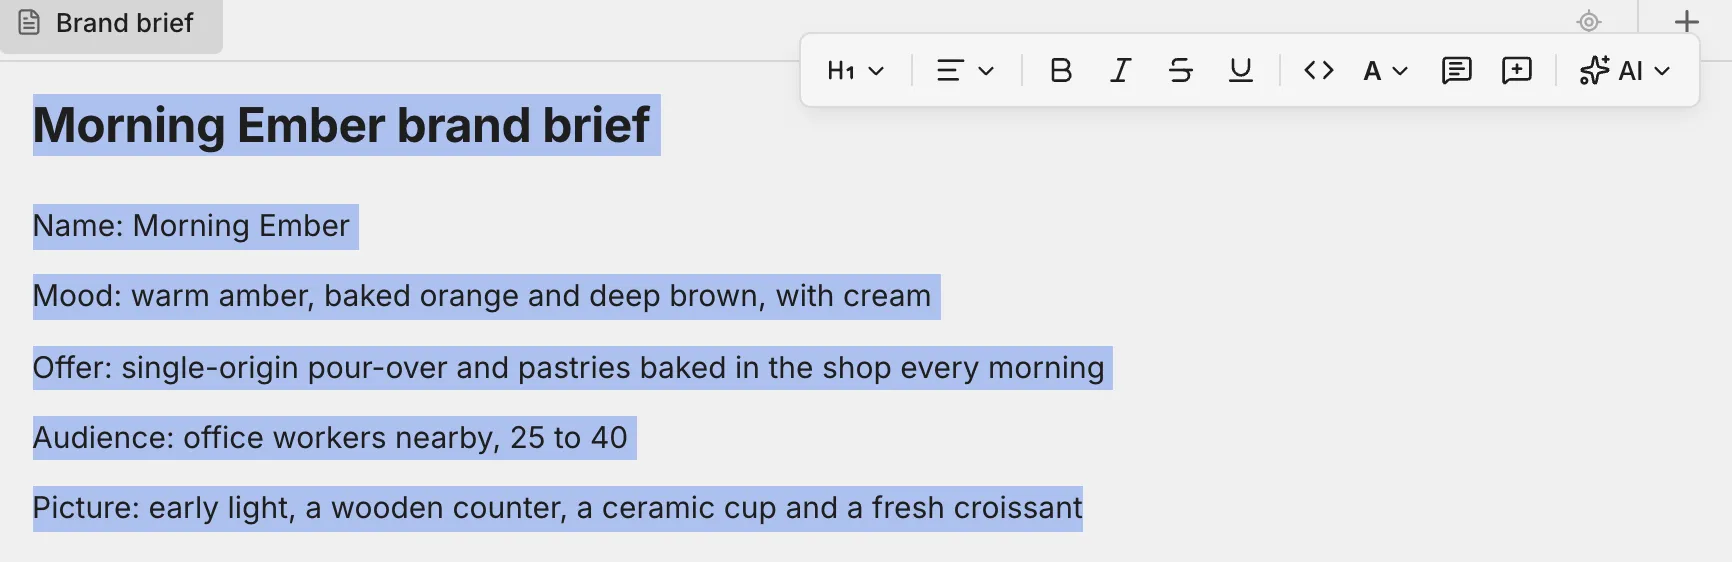
Click into the brief, press Ctrl+A twice (⌘A on a Mac) to select it all, and click “Add to Agent” on the toolbar that appears.
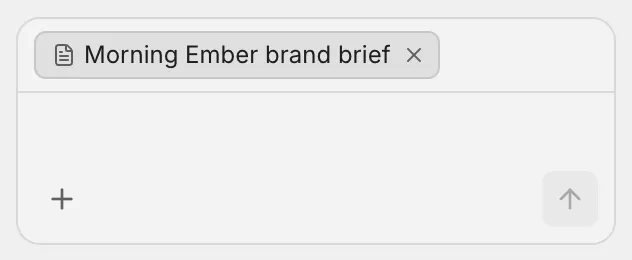
The brief is attached above the Agent’s input.
3. Ask for a poster layout
Type “Using the brand brief I attached, lay out a generate node on the canvas for a 3:4 portrait key visual poster.” and send it.
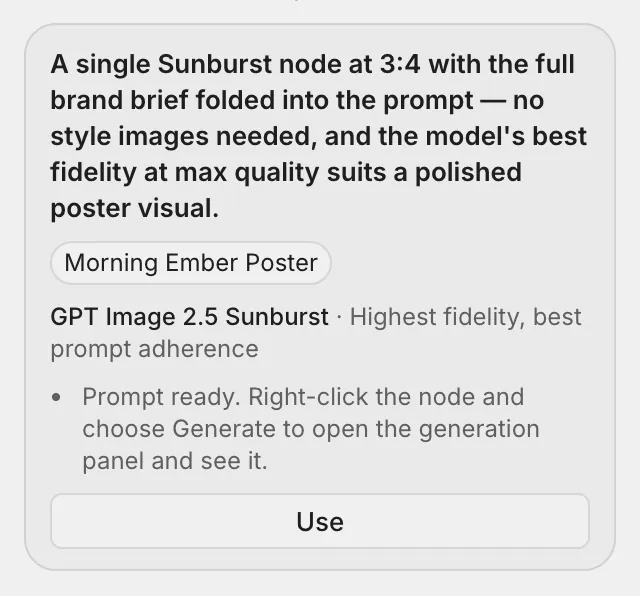
The Agent checks which models the canvas offers, then gives a proposal card with the model it picked, why, and the node it will place.
4. Put the layout on the canvas
Switch to the Canvas tab and click “Use” on the proposal card. A proposal can only go onto the canvas that is open, so switch first.
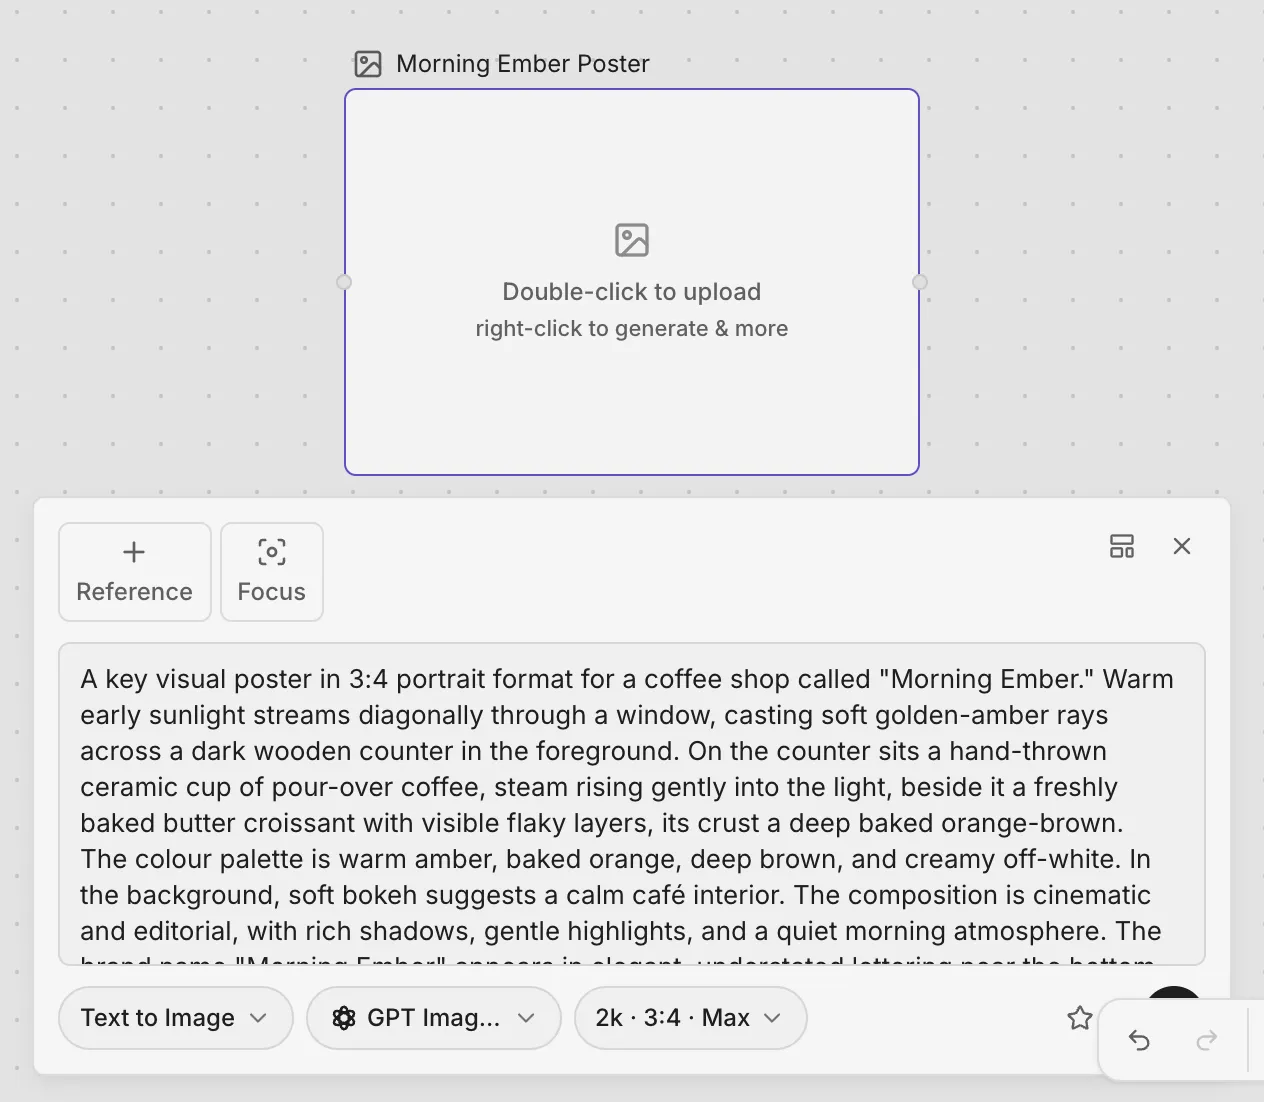
The node lands on the canvas with its generate panel open: mode, model, aspect ratio and prompt are filled in, and the bottom right shows the credits it will take.
5. Generate the poster
Click the arrow at the bottom right of the generate panel. The node shows it is generating; a result usually takes a minute or two.
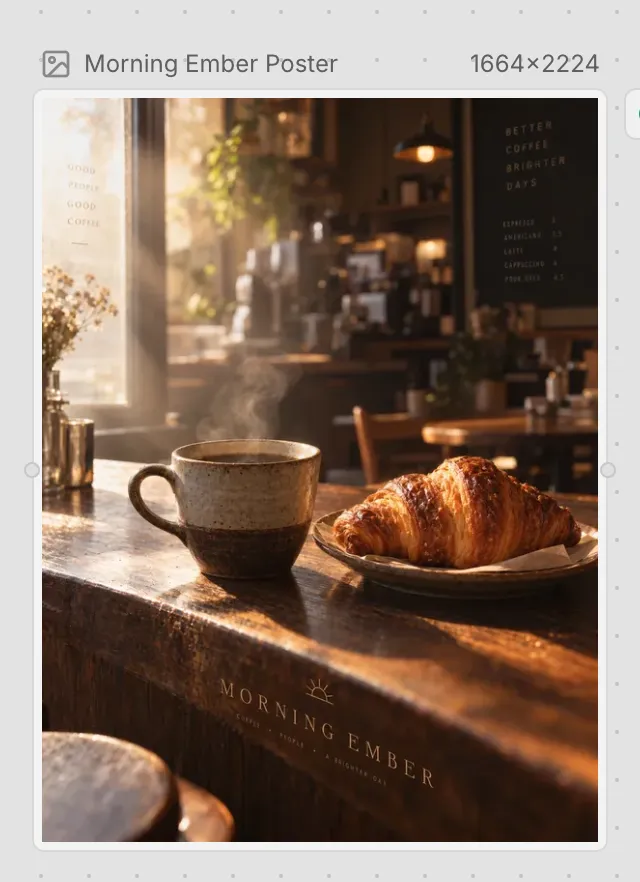
When the image is in, the node shows its size.
6. Have the poster read back
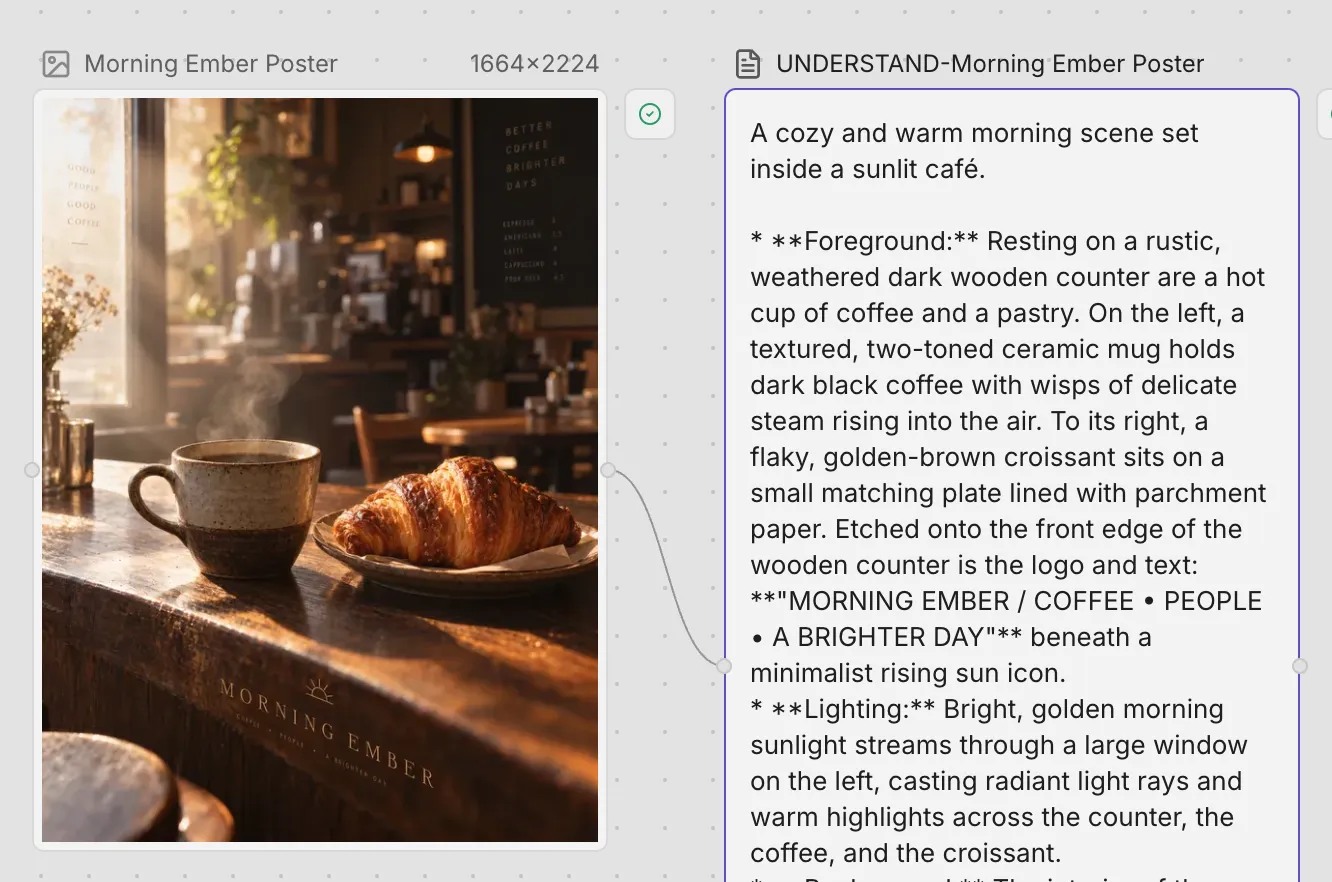
Right-click the poster and choose “Understand”. A text node appears downstream, connected to the poster, describing the picture, its lettering and its light. Use it when you write copy or adjust the prompt.
7. Remove the background
Right-click the poster, choose “Tools”, then “Remove background”. The panel shows the credits it takes; click the arrow to run it.
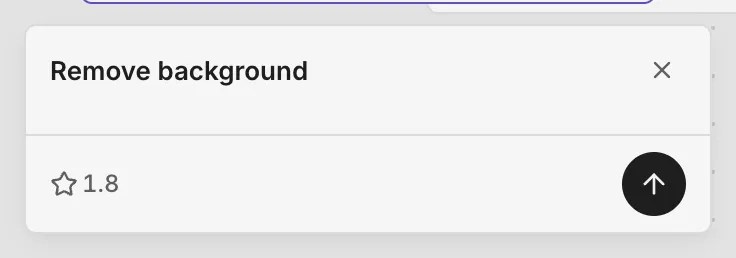
The result goes into a new node downstream; the poster stays as it was.
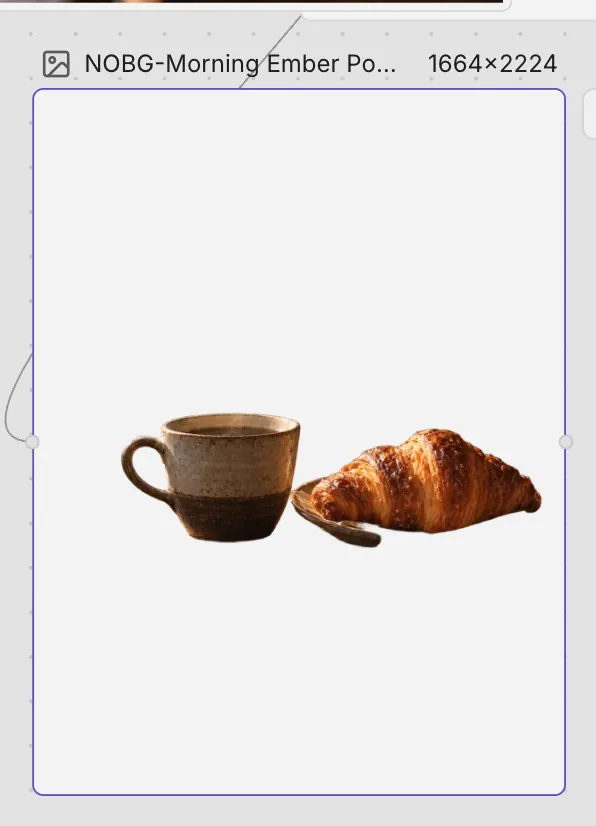
If a node shows it failed, right-click it and run it again
8. Write the opening-day post
Click “New conversation” at the top of the Agent panel. Right-click the poster and choose “Add to Agent” to attach it. Type “Using the poster I attached, write an opening-day post for Instagram in under 40 words.” and send it.
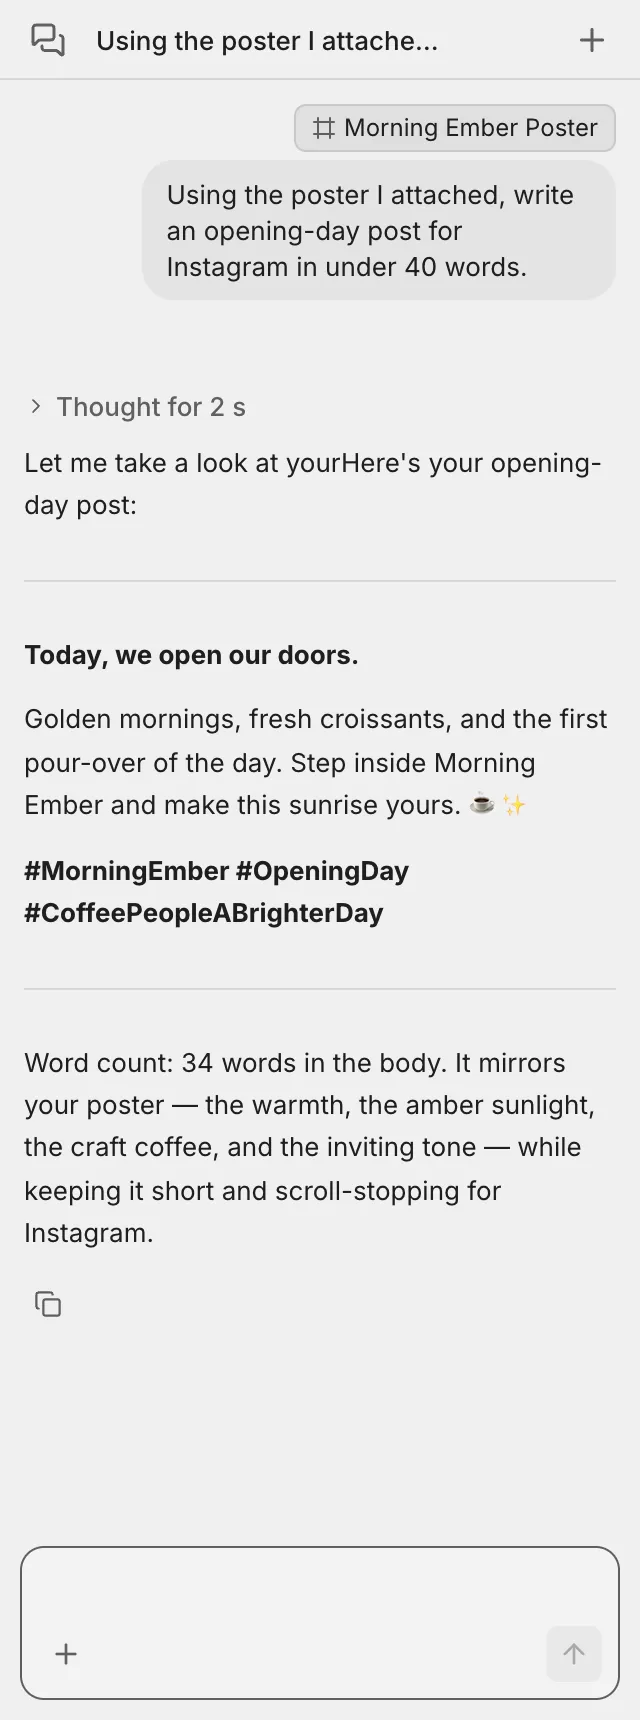
Click “Copy” under the reply to take the post with you. The brief, the poster, the cut-out and the post now all sit in one Project.