05
How they work together
Four ways to move work between Document, Canvas and the Agent
Document, Canvas and the Agent in one Project don’t link up on their own; you move things between them. What they share is the Project’s Agent conversations, its Project memory and its credits. There are four ways across today:
| From → to | How |
|---|---|
| Document → Agent | Select text and click “Add to Agent” |
| Canvas → Agent | Right-click a node, or a group of selected nodes, and choose “Add to Agent” |
| Agent → Canvas | The Agent gives a proposal card; switch to the Canvas and click “Use” |
| A copied image → Canvas | Copy an image and paste it onto a canvas |
Document → Agent
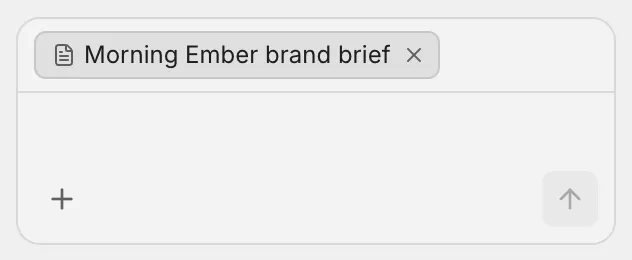
Select some text in a document (press Ctrl+A twice to select it all) and click “Add to Agent” on the toolbar or in the block menu. The text is attached above the Agent’s input; then say what you want done with it.
Canvas → Agent
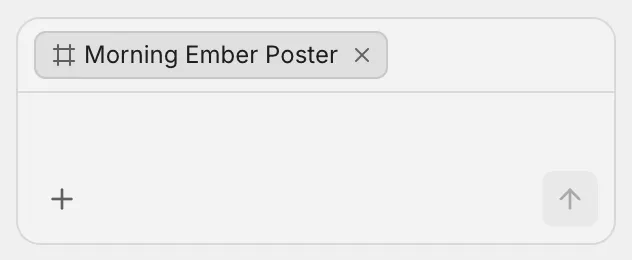
Right-click a node, or select several and right-click, and choose “Add to Agent”. The nodes and the connections between them go to the Agent together, and it can see what the images show.
Agent → Canvas
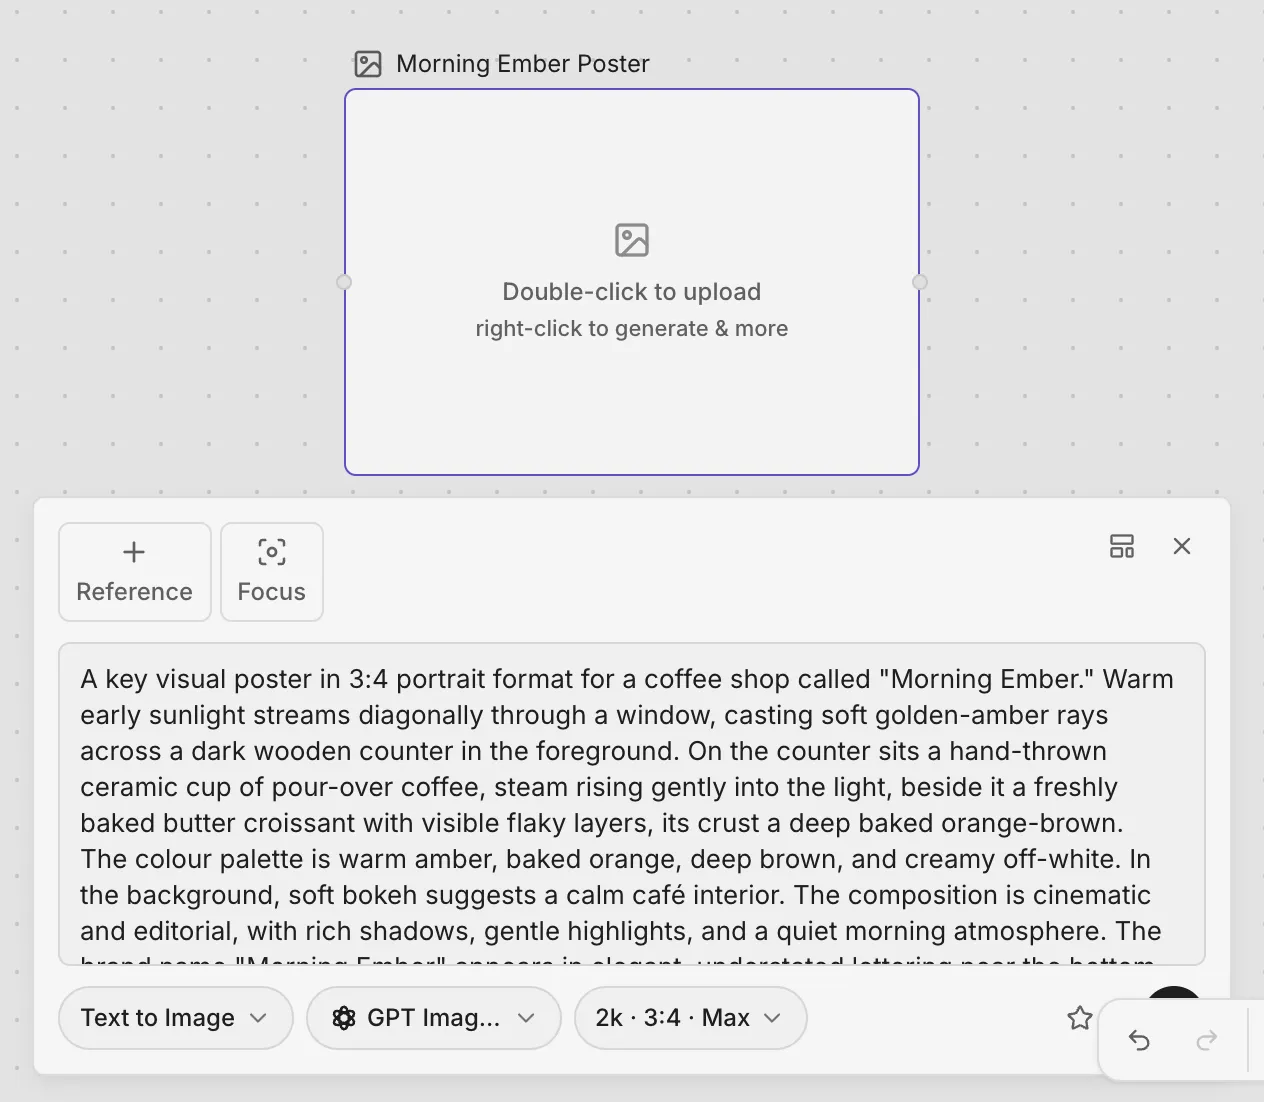
Ask the Agent to lay out nodes on a canvas and it gives you a proposal card. Switch to the Canvas tab first, then click “Use”: the nodes and connections land on the open canvas with their generate settings filled in.
A copied image → Canvas
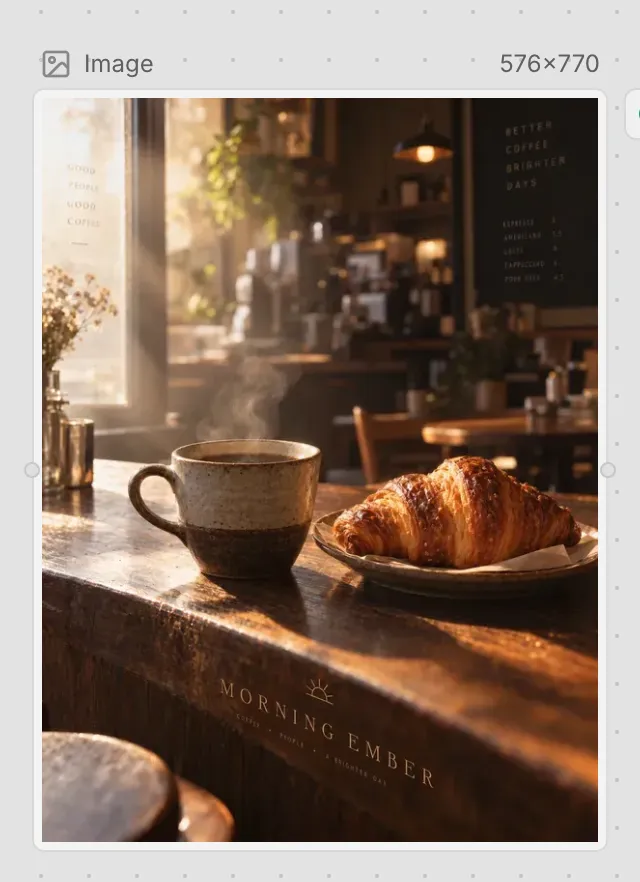
Copy an image, from the Agent’s image search results or from your computer, and paste it onto a canvas; it becomes an image node. Below, the poster made in the worked example is pasted in.
To walk all of these in one go, see the worked example.