01
Getting started
What Studios, Projects, Spaces and the Agent are, and how to set up your first Project
Breatic is organized in three layers: a Studio holds Projects, and a Project holds one or more Spaces. Every Project has an Agent panel on its left.
The pieces
| Piece | What it is |
|---|---|
| Studio | Where your Projects live. You get a personal Studio when you sign up; you can also create team Studios or be invited into someone else’s |
| Project | One piece of work, such as a launch campaign. A Project has members, each an Owner, Editor or Viewer |
| Space | A workspace inside a Project, shown as a tab along the top. There are two kinds today: Canvas (an infinite canvas with nodes) and Document (rich text, edited together) |
| Agent | The chat panel on the left of a Project. Each member has their own conversations, and the Agent only sees what you hand it |
Sign up
- Open the sign-up page, enter your email and a password of at least 8 characters, and click “Create account”. If you are asked to verify your email, enter the code from the message.
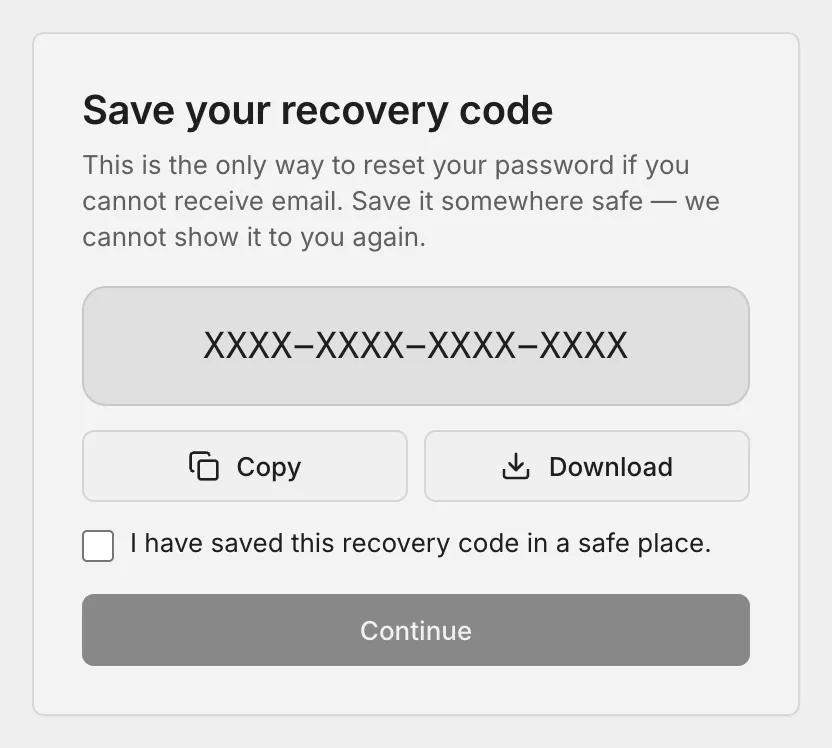
- The page shows a recovery code. If you can’t receive email, it is the only way to reset your password. Click “Copy” or “Download” to keep it, tick “I have saved this recovery code in a safe place.”, then click “Continue”.
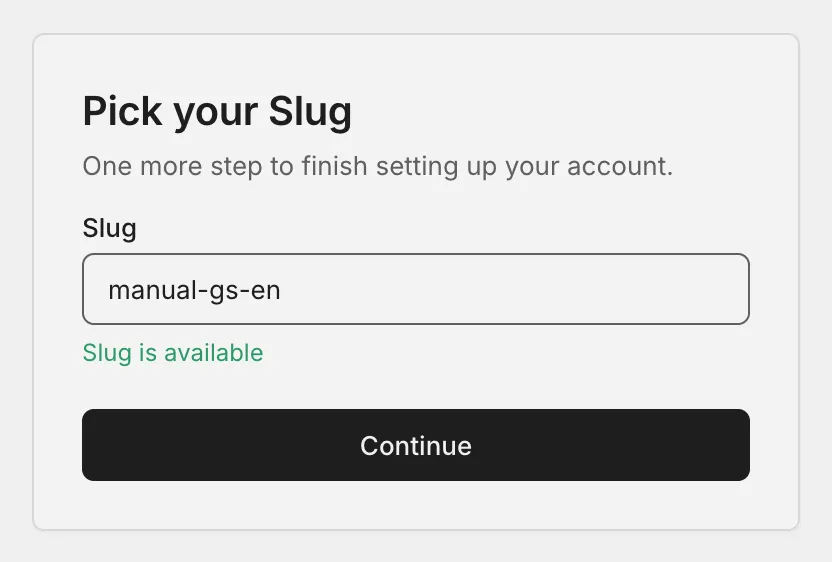
- Pick a Slug. It appears in the address of your Studio: 6 to 39 characters, starting with a lowercase letter, using only lowercase letters, digits and hyphens, and not already taken.
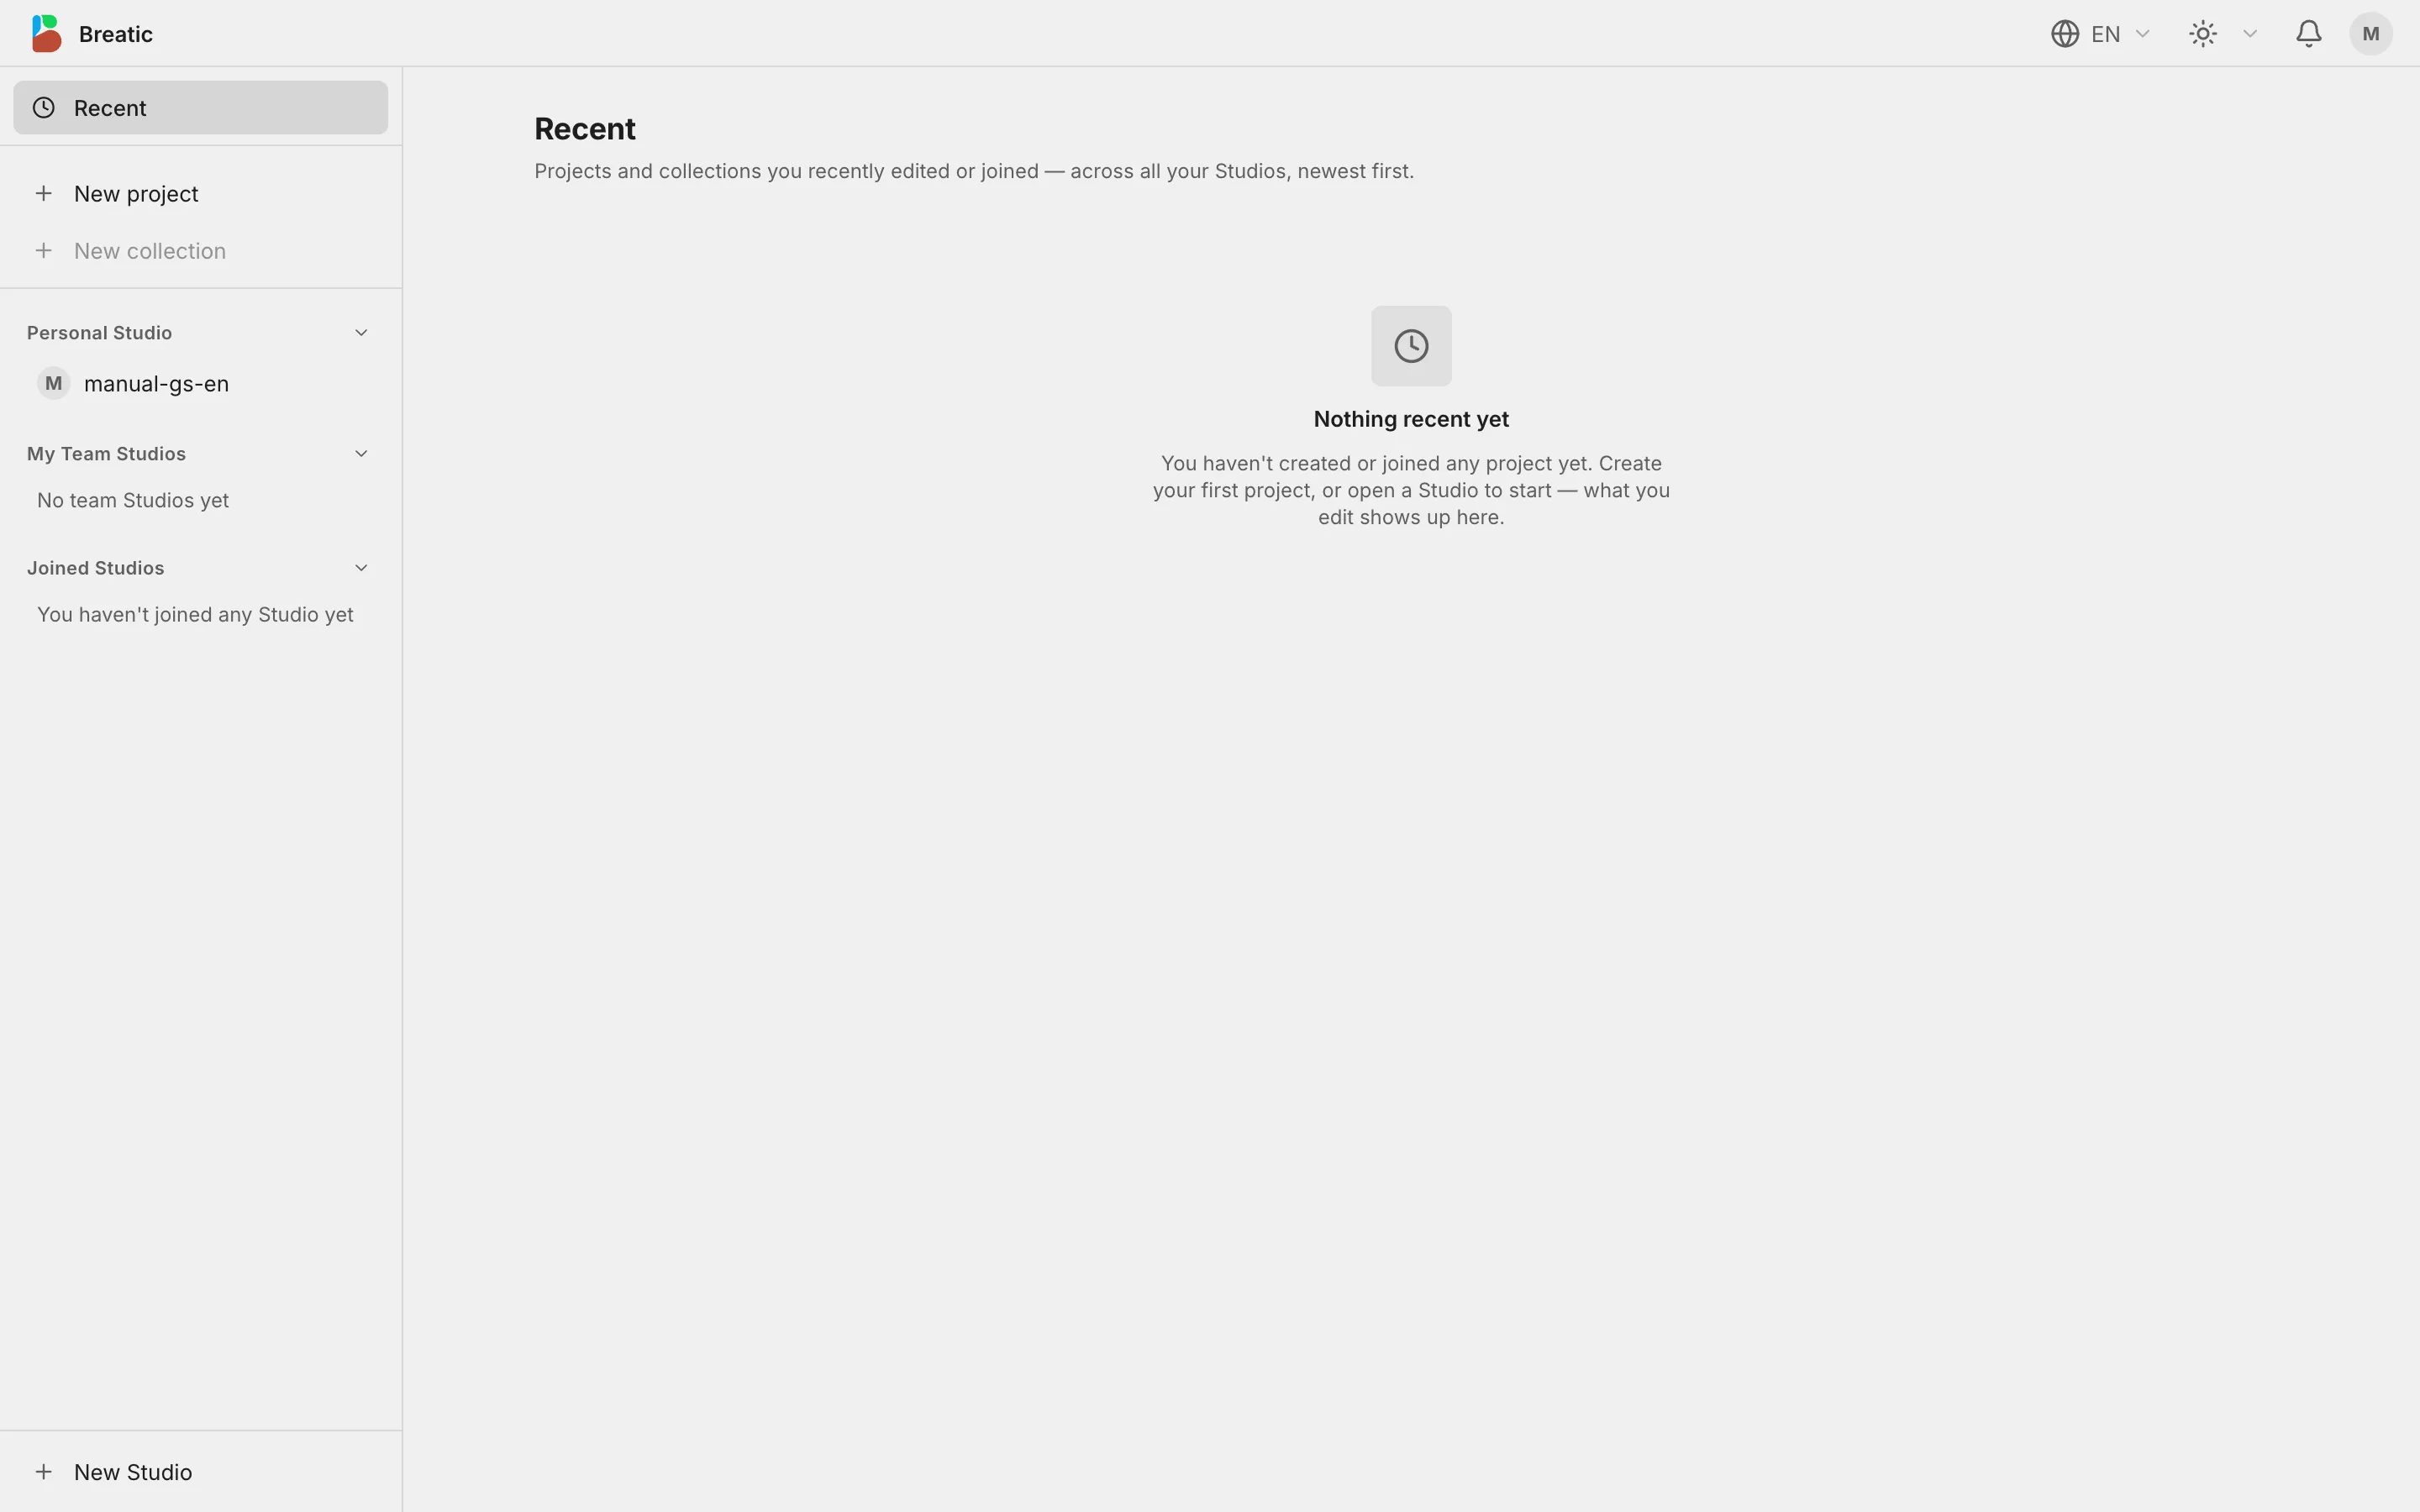
You land on your Studio home. On the left are Recent, the create buttons and the Studios you belong to.
Create a Project
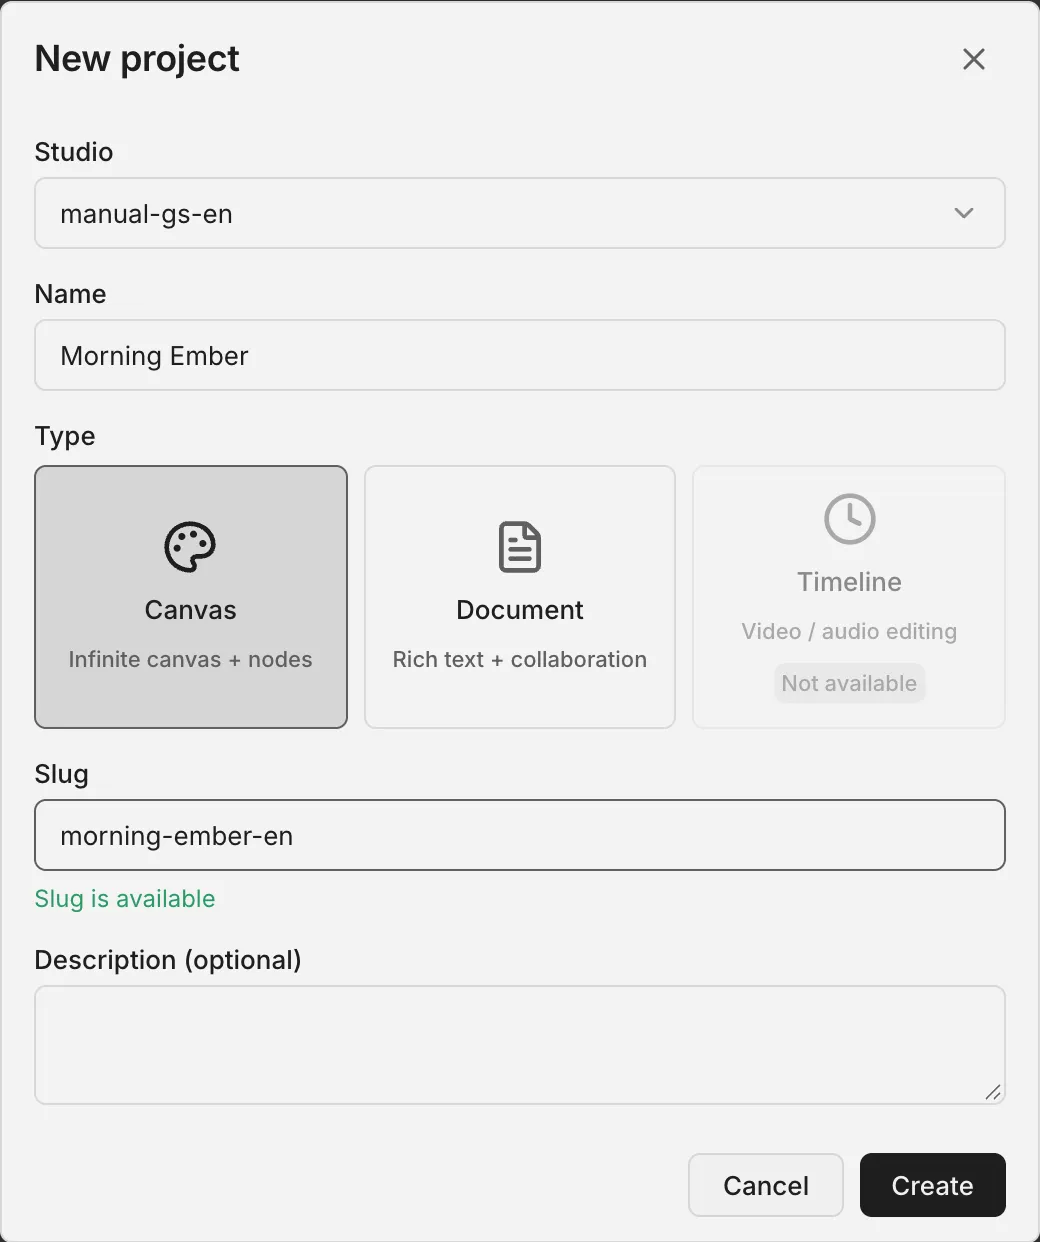
Click “New project” on the left, choose a Studio, enter a name, pick a type, enter a Slug and click “Create”. The type sets whether the Project’s first Space is a Canvas or a Document; you can add other Spaces at any time.
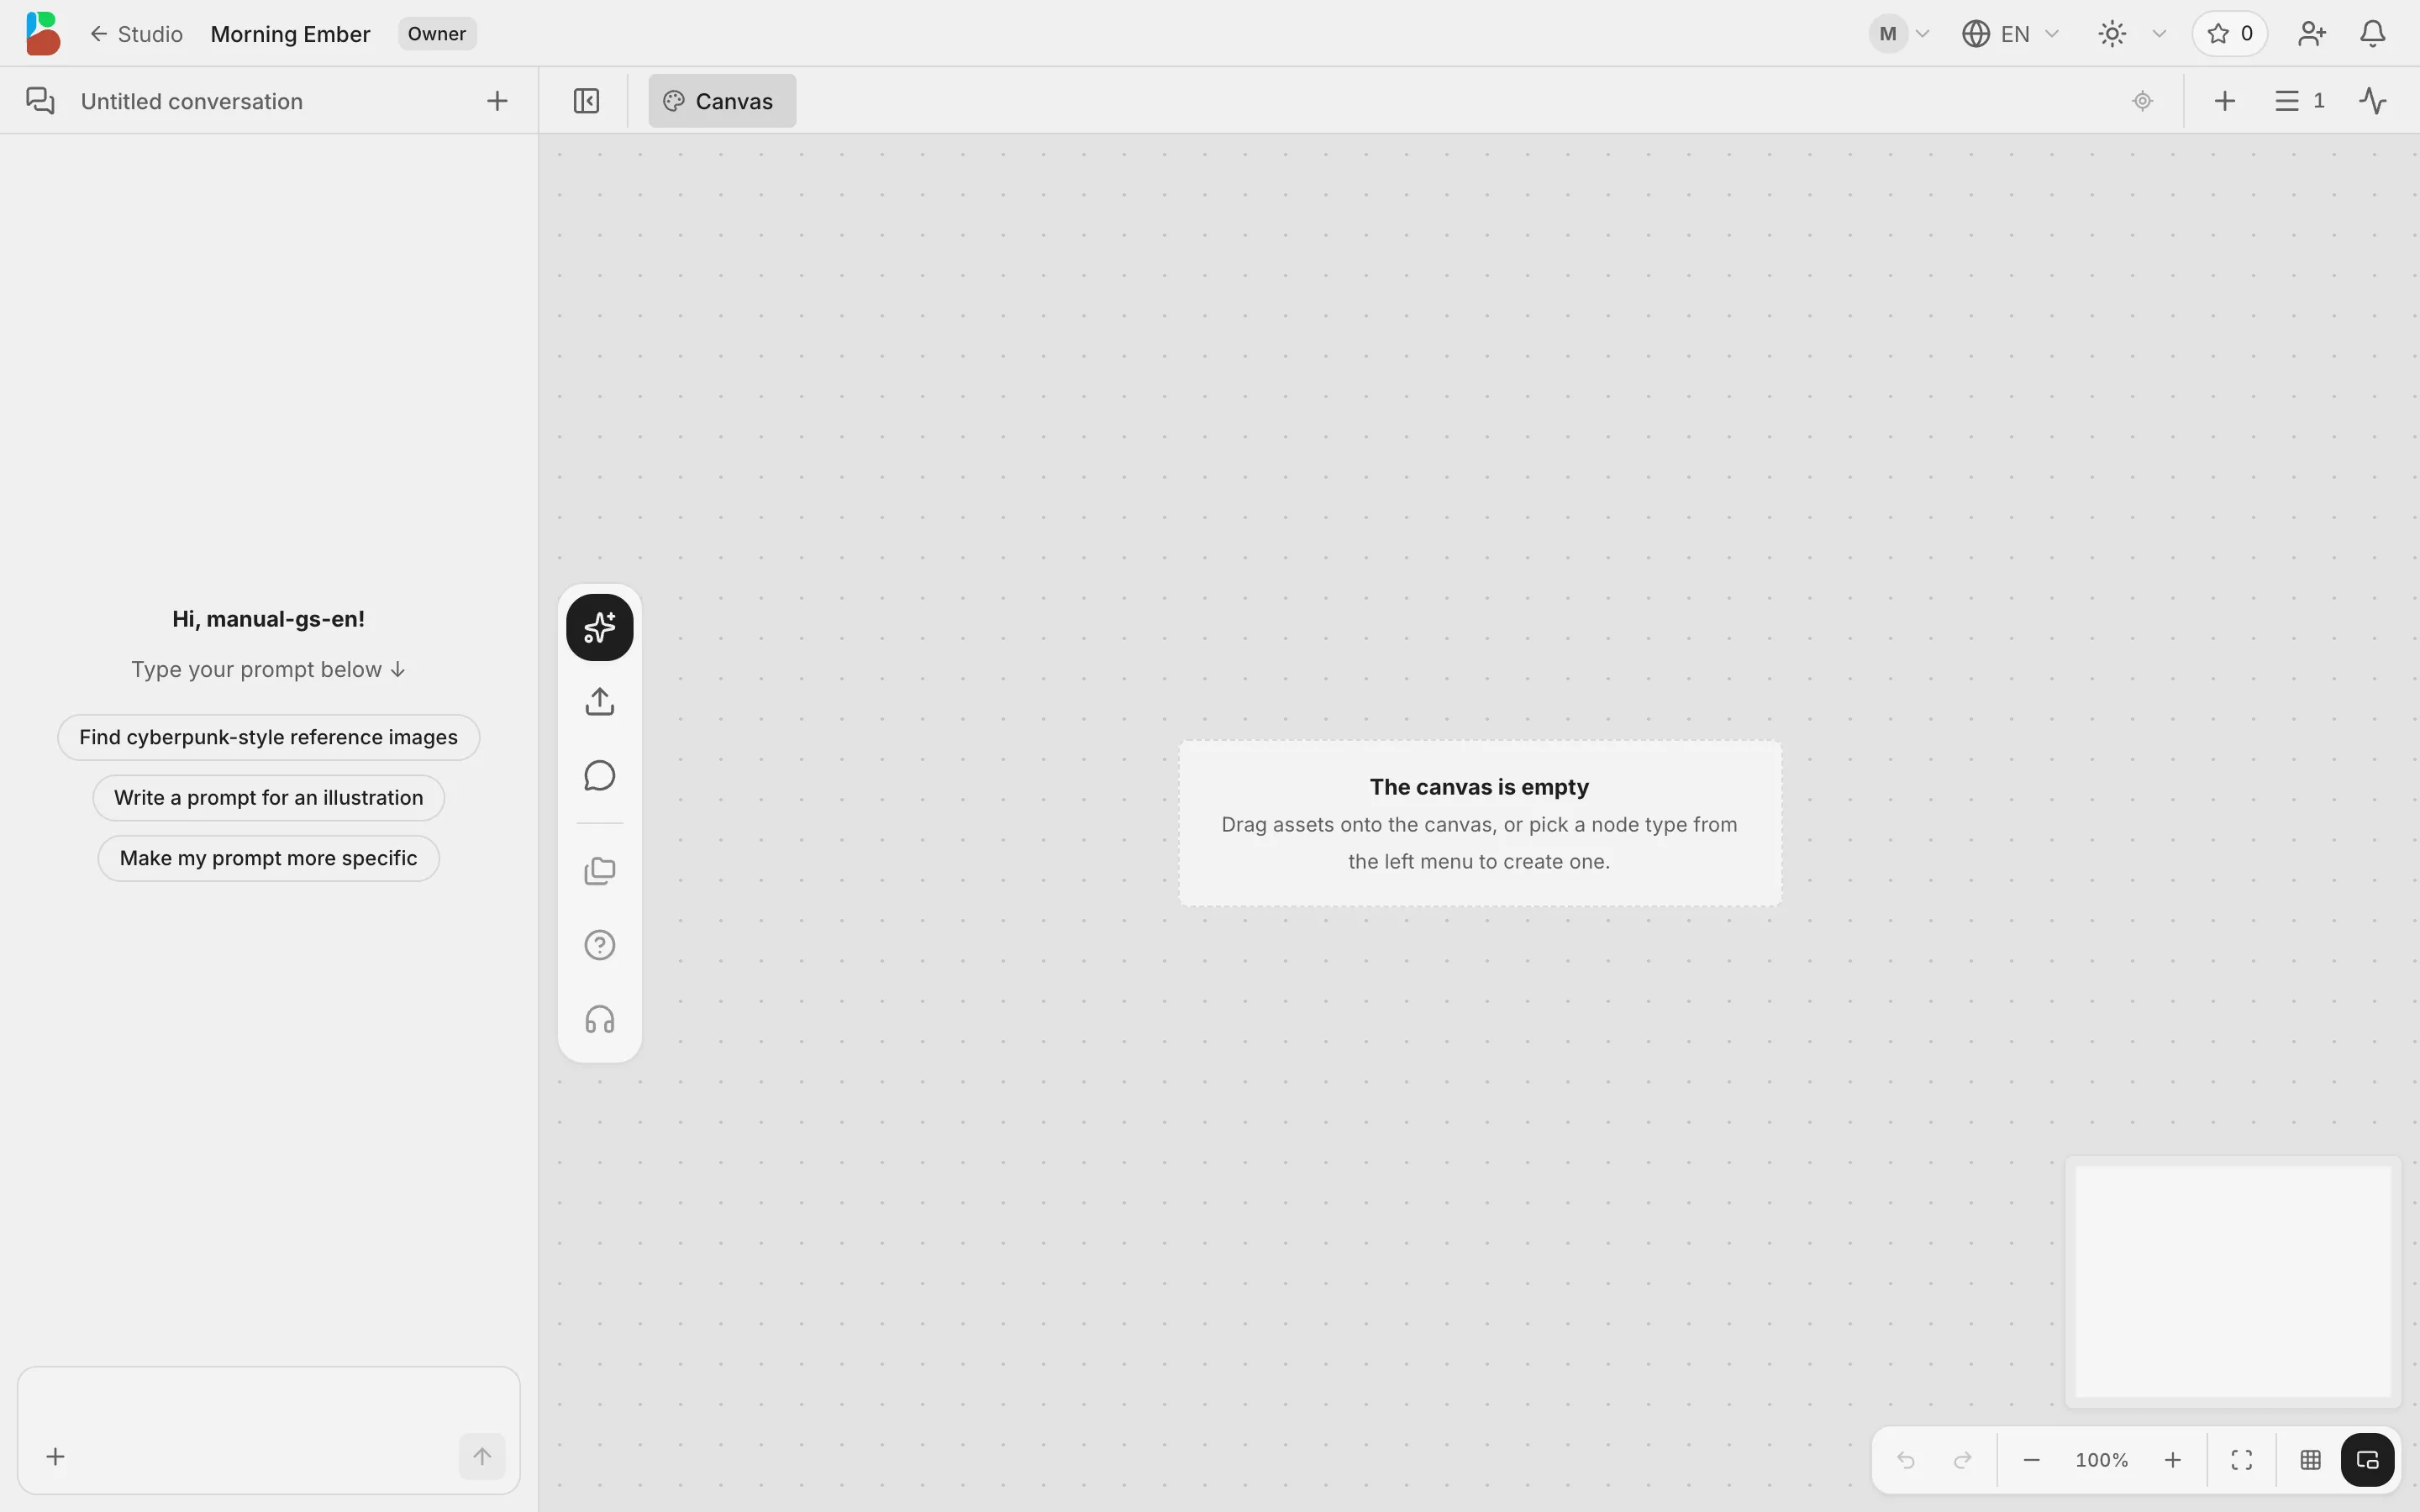
Inside the Project, the Agent panel is on the left and the first Space on the right.
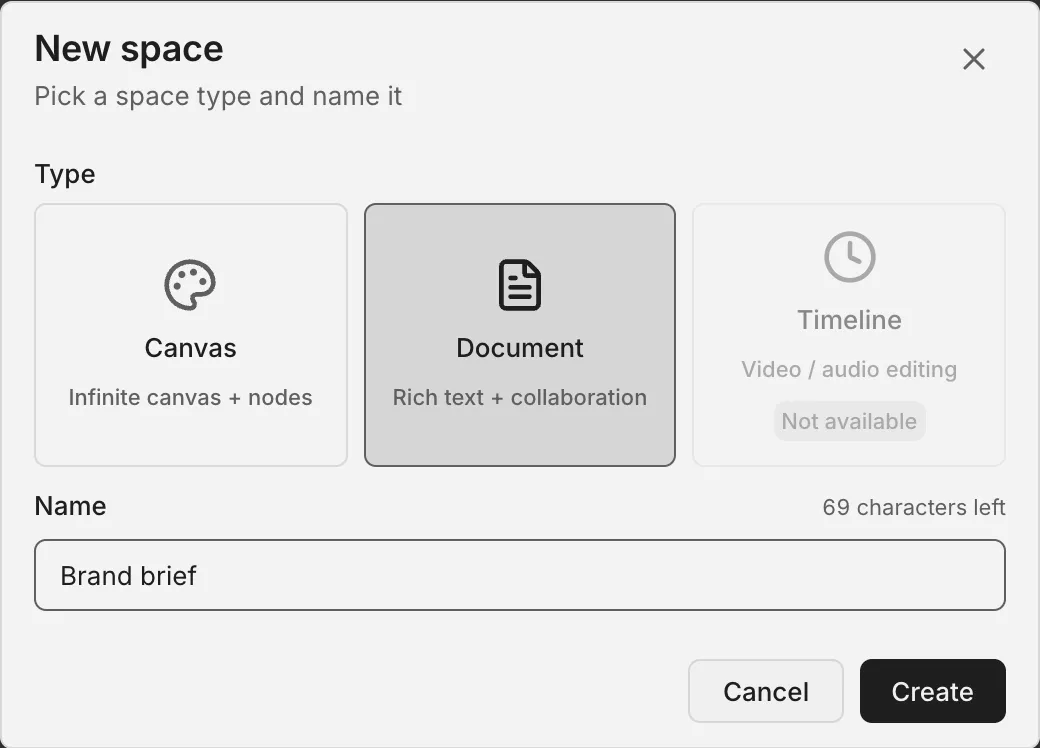
Add another Space
Click “New space” at the right end of the tab bar, pick a type, give it a name and click “Create”. The new Space opens as a tab along the top; click a tab to switch.
Invite people
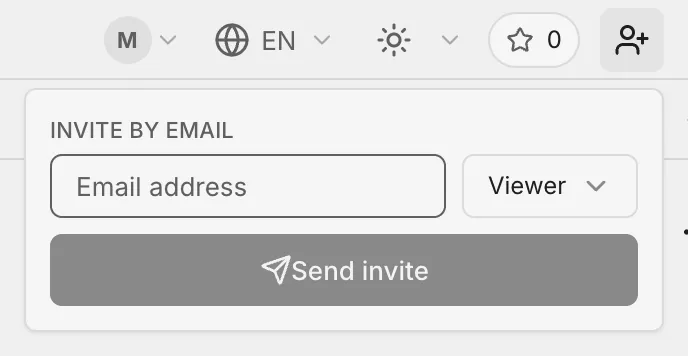
Click “Invite” at the top right, enter their email, pick a role (Viewer or Editor) and click “Send invite”.